Audio Compression Basics
Compressors and limiters are used to reduce dynamic range — the span between the softest and loudest sounds. Using compression can make your tracks sound more polished by controlling maximum levels and maintaining higher average loudness. Here are some compression basics, different compression types, and some tips to try on your tracks.
Curious about file formats and compression in audio streaming? Be sure to check out Understanding Audio Data Compression.
Why Compress?
Compression can be used to subtly massage a track to make it more natural sounding and intelligible without adding distortion, resulting in a song that's more “comfortable” to listen to. Additionally, many compressors — both hardware and software — will have a signature sound that can be used to inject wonderful coloration and tone into otherwise lifeless tracks.
Alternately, over-compressing your music can really squeeze the life out of it. Having a good grasp of the basics will go a long way toward understanding how compression works, and confidently using it to your advantage.
Audio Compression Explained
Depending on which compressor you're using, and whether it’s a hardware unit or a plug-in, there are some common parameters and controls used in audio compression that you should be familiar with. Understanding each of the following controls will allow you to work comfortably with a wide range of compressors.
Threshold
The threshold control sets the level at which the compression effect is engaged. Only when a level passes above the threshold will it be compressed. If the threshold level is set at say -10 dB, only signal peaks that extend above that level will be compressed. The rest of the time, no compression will be taking place.
Knee
The “knee” refers to how the compressor transitions between the non-compressed and compressed states of an audio signal running through it. Typically, compressors will offer one, or in some instances a switchable choice between both, a "soft knee" and a "hard knee” setting. Some compressors will even allow you to control the selection of any position between the two types of knees. As you can see in the diagram, a “soft knee” allows for a smoother and more gradual compression than a “hard knee.”
Attack Time
This refers to the time it takes for the signal to become fully compressed after exceeding the threshold level. Faster attack times are usually between 20 and 800 us (microseconds) depending on the type and brand of unit, while slower times generally range from 10 to 100 ms (milliseconds). Some compressors express this as slopes in dB per second rather than in time. Fast attack times may create distortion by modifying inherently slow-moving low frequency waveforms (Ex. If a cycle at 100 Hz lasts 10 ms, then a 1 ms attack time will have time to alter the waveform, which will generate distortion).
Release Time
This is literally the opposite of attack time. More specifically, it is the time it takes for the signal to go from the compressed — or attenuated — state back to the original non-compressed signal. Release times will be considerably longer than attack times, generally ranging anywhere from 40-60 ms to 2-5 seconds, depending on which unit you’re working with. These can also sometimes be referenced as slopes in dB per second instead of times.
Typically, release time should be set as short as possible without producing a "pumping" effect, which is caused by cyclic activation and deactivation of compression. For example, if the release time is set too short and the compressor is cycling between active and non-active, your dominant signal — usually the bass guitar and bass drum — will also modulate your noise floor, resulting in a distinct "breathing" effect.
Compression Ratio
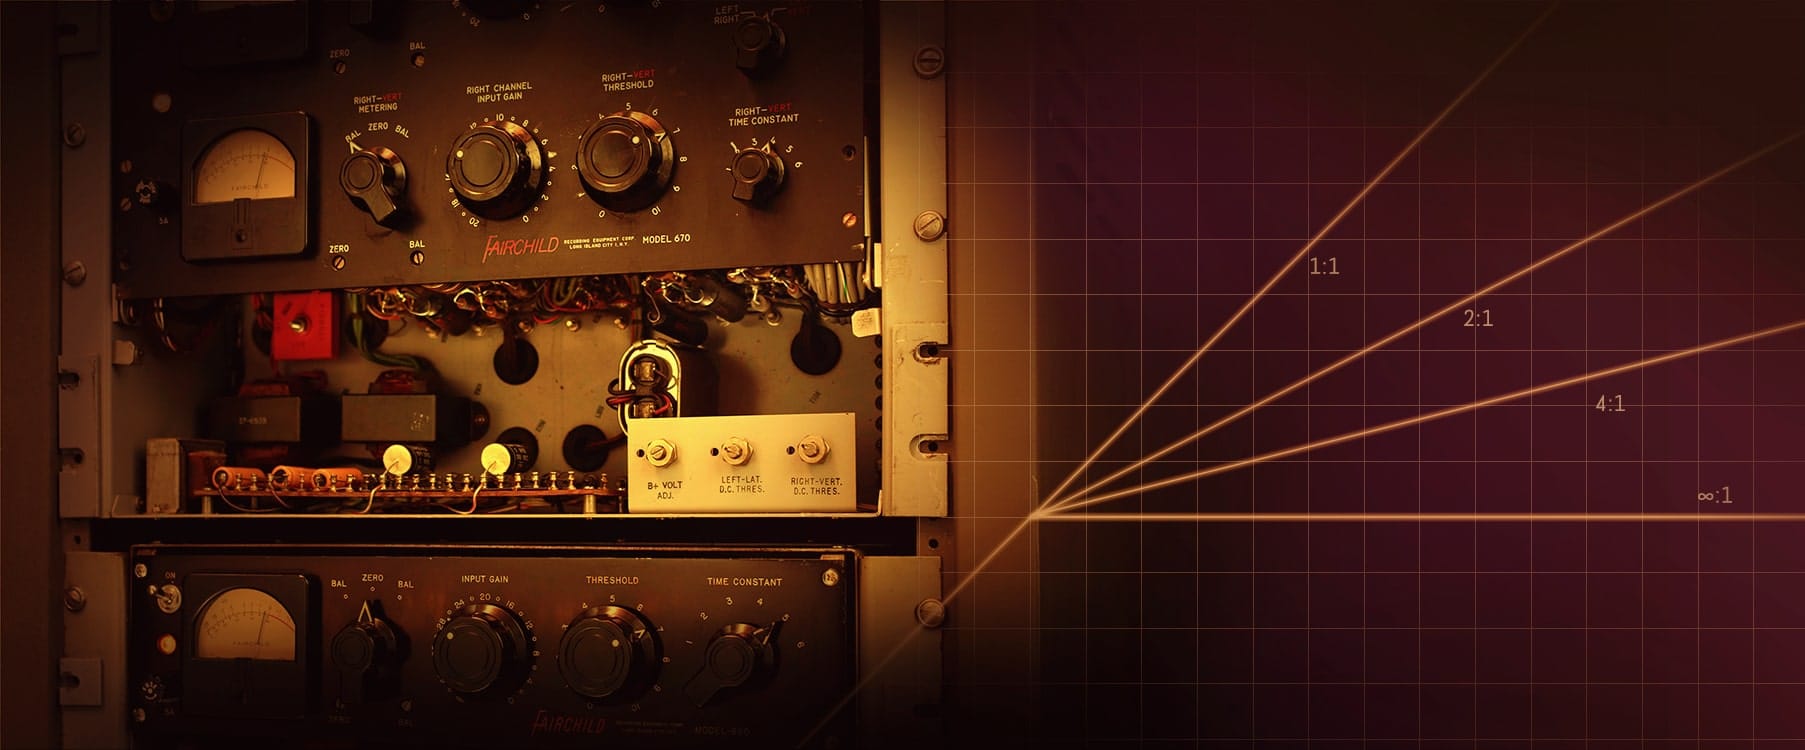
Compression ratio specifies the amount of attenuation applied to the signal. You will find a wide range of ratios available depending on the type and manufacturer of the compressor you are using. A ratio of 1:1 (one to one) is the lowest and it represents “unity gain”, or in other words, no attenuation. These compression ratios are expressed in decibels, so that a ratio of 2:1 indicates that a signal exceeding the threshold by 2 dB will be attenuated down to 1 dB above the threshold, or a signal exceeding the threshold by 8 dB will be attenuated down to 4 dB above it, etc.
A ratio of around 3:1 is considered moderate compression, 5:1 would be medium compression, 8:1 starts getting into strong compression and 20:1 thru ∞:1 (infinity to one) would be considered “limiting” by most, and can be used to ensure that a signal does not exceed the amplitude of the threshold.
Output Gain
Although we perceive compressed signals as being louder, compression-induced attenuation actually lowers the output. This is where “output gain” or “make‑up gain” comes into play. You can use the output gain to “make-up” for the attenuation done by the compressor. Some compressors, such as the UA 175B & 176 Tube Compressors, provide meters that can be put into “GR” or “gain reduction” mode to visually indicate the total attenuation in dB, allowing you to accurately apply the correct amount of output gain.
Hardware compressors achieve make‑up gain using either tube or solid-state components, which can influence the amount of color or “effect” applied to your track.
The Big Four: Common Compression Types
The type of compressor you choose will also play a large role in the overall sound of the effect. Some compressor types will have faster “attack” and “release” times than others, and some will have more “coloration” or “vintage” vibe based on the internal components. This is a list of the four most famous compression types and a brief description of how they differ.
1. Tube
Probably the oldest type of compression is tube compression. Tube compressors tend to have a slower response — slower attack and release — than other forms of compression. Because of this, tube compressors exhibit a distinct coloration or "vintage" sound that is nearly impossible to achieve with other compressor types.
2. Optical
Optical compressors affect the dynamics of an audio signal via a light element and an optical cell. As the amplitude of an audio signal increases, the light element emits more light, which causes the optical cell to attenuate the amplitude of the output signal.
3. FET
FET or “Field Effect Transistor” compressors emulate the tube sound with transistor circuits. They are fast, clean, and reliable. The 1176 is perfect for vocals, bass, guitar and more. It's also a popular choice for bringing out excitement in room mics.
4. VCA
Fast and punchy VCA compressors run the gamut — from the Rolls-Royce compression of the SSL G Bus or E series used on the mix bus and instrument groups, to the hot-rod attitude of the legendary dbx 160, which can give a snare drum or electric guitar unrelenting character.
Compression Tips & Techniques
Here are a few suggestions to get you up and running with compression. These are certainly not rules, but hopefully these techniques will help you feel more confident when using this extremely powerful, but easily misused recording tool. Have fun, and experiment.
- It is a common practice and recommendation to apply “gentle” compression at different stages throughout the recording/mixing/mastering process, rather than applying excessive compression at just one point.
- Always listen carefully while adding compression. Compression can negatively affect the timbre of an instrument. This can be simply due to the type of compressor being used, but often it’s the difference in tone between the peaks and the troughs of an instrument (if you reduce the peaks relative to the troughs, the tone will change). Fast compression on instruments with wide vibrato will demonstrate this effect.
- Try starting with a moderate to medium ratio of between 2:1 and 5:1. Set your attack time to a medium-fast setting and your release time to a medium setting. Now, gradually raise the threshold until you’re getting somewhere around 5 dB of gain reduction. Then set your output gain to compensate for the 5 dB attenuation. Finally, speed up your attack time gradually until it gets noticeable and then back it off slightly.
- Experiment with using dramatic compression as an effect. For example, it can sound really cool to use a compressor to really “squish” a clean guitar track, or “clamp down” a snare drum to make it stand out.
- If you’re going to compress an entire mix, use caution. In many types of popular music, there will be a bass line with a fairly constant signal level. If you use compression to try to counter a loud peak — like a horn part — the entire mix will drop at that point, causing the bass line to dip and create the “pumping” effect mentioned above. You can avoid this by using a multiband compressor such as the Precision Multiband Compressor, which splits the signal into multiple frequency ranges, allowing you to compress them separately.
As always, let your ears be the final judge. If it sounds good, it is good.
— Mason Hicks
続きを読む
Origins of the Teletronix LA-3A
Learn the history of the Teletronix LA-3A compressor and how it differs from its predecessors, the UA 1176 and LA-2A.
Helping Billie Eilish Craft Hits
Learn how mix engineer Rob Kinelski used UAD plug-ins to help craft a multi Grammy-winning record, Billie Eilish’s When We All Fall Asleep, Where Do We Go?
RAC Records 2020 Album with Apollo & UAD
Learn how Grammy-winning producer RAC uses UAD and Apollo to sculpt deep, expansive low end, how he uses distortion on drums, and why guitar is all over his latest album, BOY.


